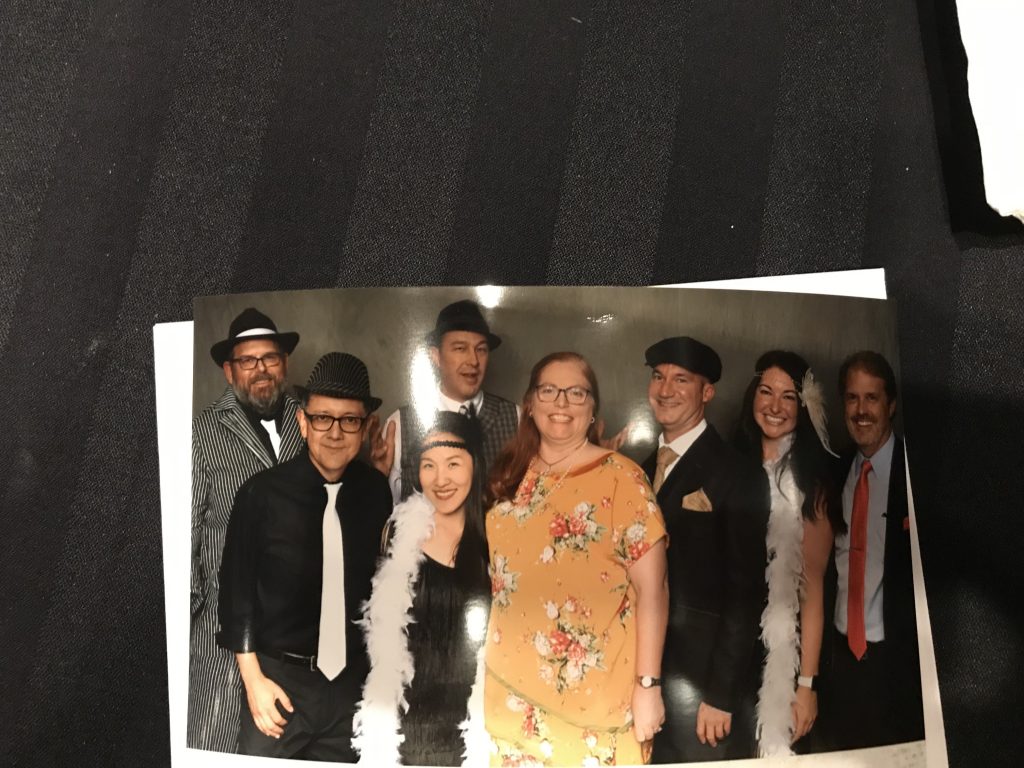
1920s Tier-rific Ensemble
I picked up this Decades of Style pattern a few years ago, and never got around to making it. But this year’s Partnership meeting event theme is Chicago Mafia/Roaring 20s.
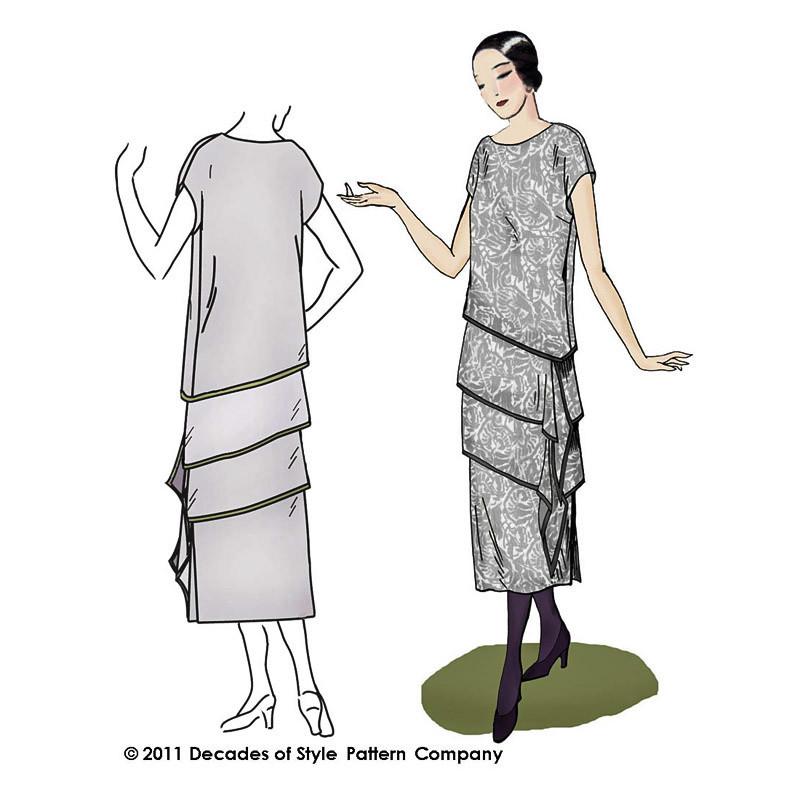
As is usually the case, I needed to alter the pattern. The kicker is that the waist and skirt are not symmetrical, so you can’t just add something to both sides and have it work. Plastic sheeting to the rescue. (Admittedly, I “copy” nearly every pattern this way, and leave the original intact.)
All of the alternations needed to be on the right-side of the dress, because the angle on the left was critical for the look, with the tiers “falling” off a specific point.
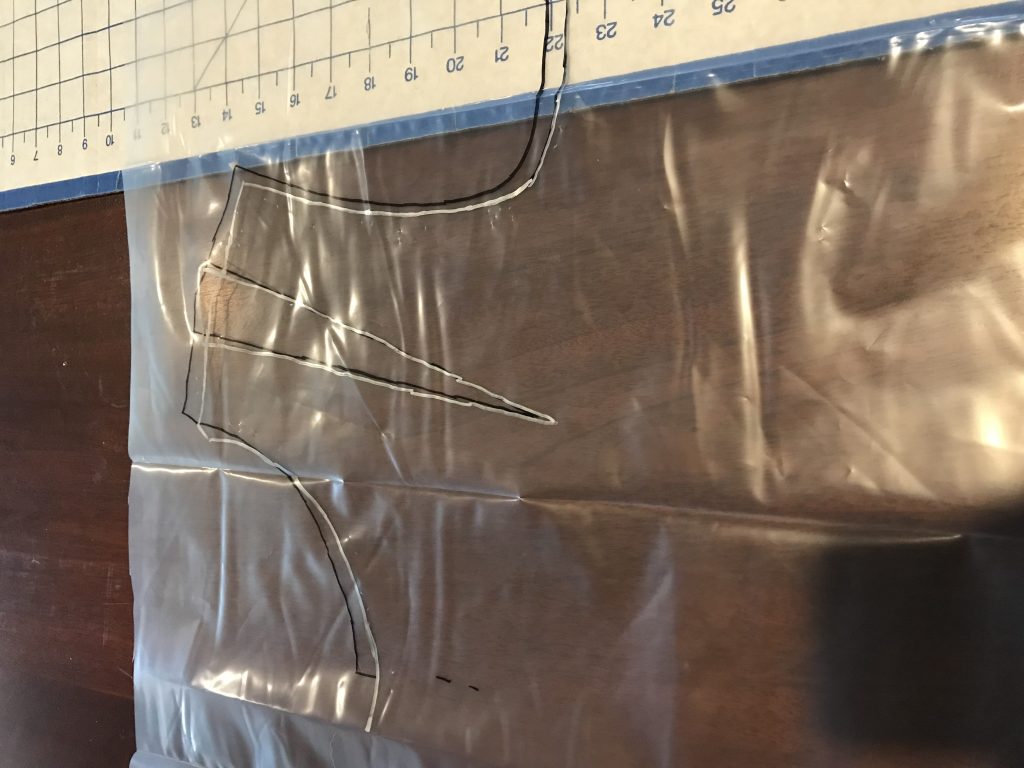
The skirt pieces were easy — just add extend the pattern lines the necessary width/length. But the tops (the under dress and the blouse) required a bit more attention. I started by tracing the existing bottom line and left side lines (side seam, arm scye, shoulder, neckline to the center front). Then I shifted the pattern over and started to do the same thing on the right, just with the alteration. But I forgot that I had to use the seam marking diamond to match up the height where it would be on the new seam, not where it was on the original. This totally changed how the upper part of the pattern needed to be traced. See the silver vs black lines in the image.
I cut the test from an old sheet, tried it on, and it fit right the first time. Whew. Time to do the adjustments on the blouse and on the tiers. Calculated the angle (28º), then calculated how much I needed to add to the tier. This was easy as the pattern actually comes in two pieces that you need to tape together. The tiers are identical, but because you have to cut two with the same orientation, and everything else is on a single layer (unfolded) fabric, there are two pattern pieces.
I considered cutting the pattern cross-grain, but the tiers are well over 60″ so this would work only if you wanted to have a seam at the side. You need to have a large flat work surface to layout all of the fabric and the pattern pieces. And you need a fashion fabric that is not too one-sided (the back will show on the tiers)… so off to the store I went again…
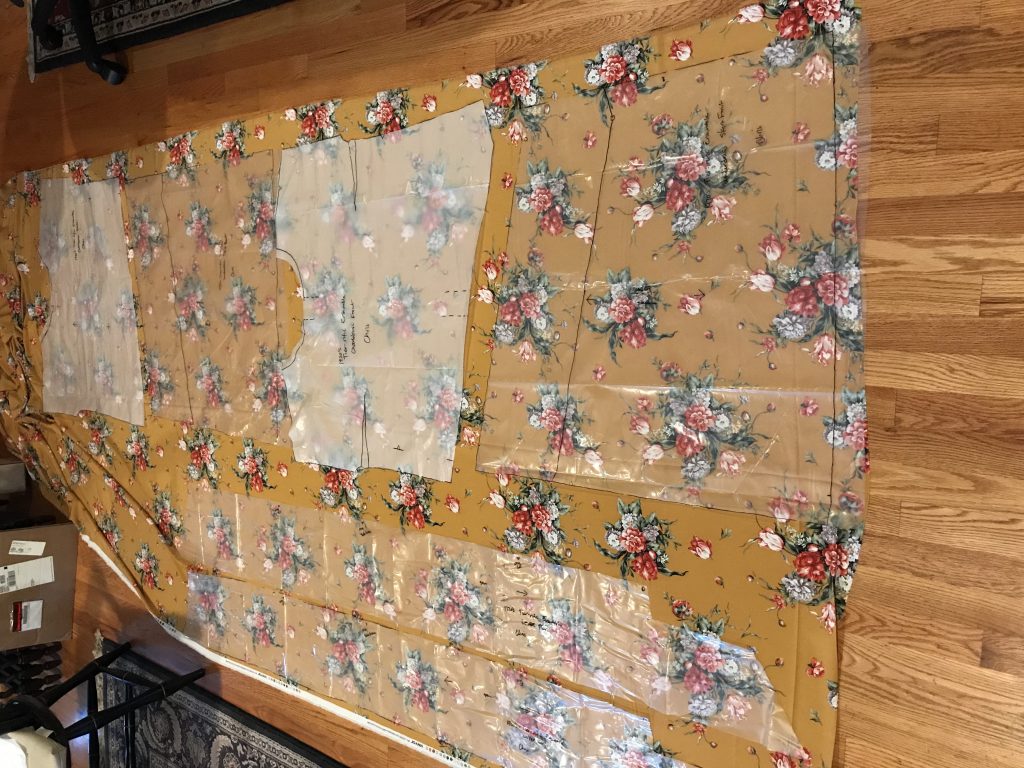
The one that that wasn’t really clear on the initial read of the instructions was that there are two different types of bias used — one is the fashion fabric, and one is a contrasting fabric. The necklines and armholes are all fashion fabric bias. If you lay out your pattern pieces correctly, you will have a rectangular remnant to use to make the bias. I was able to just cut 4 pieces and used the two longer ones (about 42″) for the necklines and the two shorter (about 34″) for the arms with plenty leftover for the overlap seam. For the contrast bias you can either make some or buy it. If you purchase it, you will need 3 packs of double-fold wide bias.
Otherwise, the instructions are quite easy to follow. I tried to sew everything that didn’t involve the contrast bias first, just so I didn’t have to keep switching my threads. The one thing I did differently was put the lower tier on with top-stitching. I did it as instructed, and found it extremely difficult to accurately place the tier upside down. I also found that my tier was a bit short (thanks to the alterations). The drop on the tiers seems like a lot until you get all of the pieces together, and then it aligns perfectly.
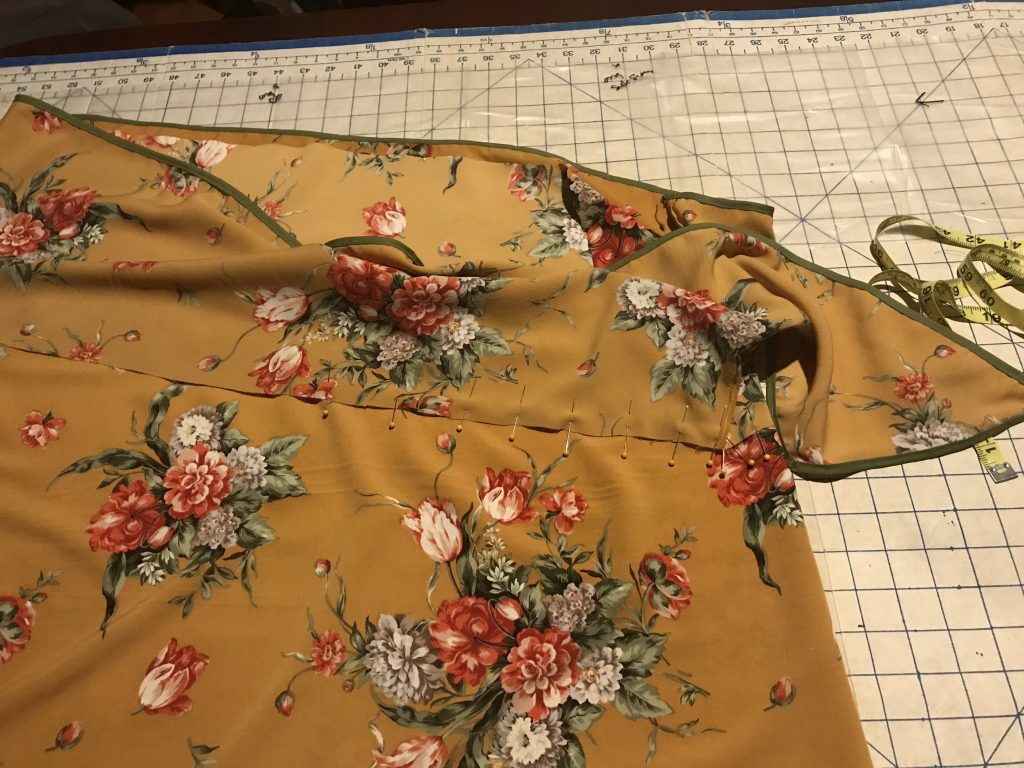
First attempt to correctly place the lower tier. 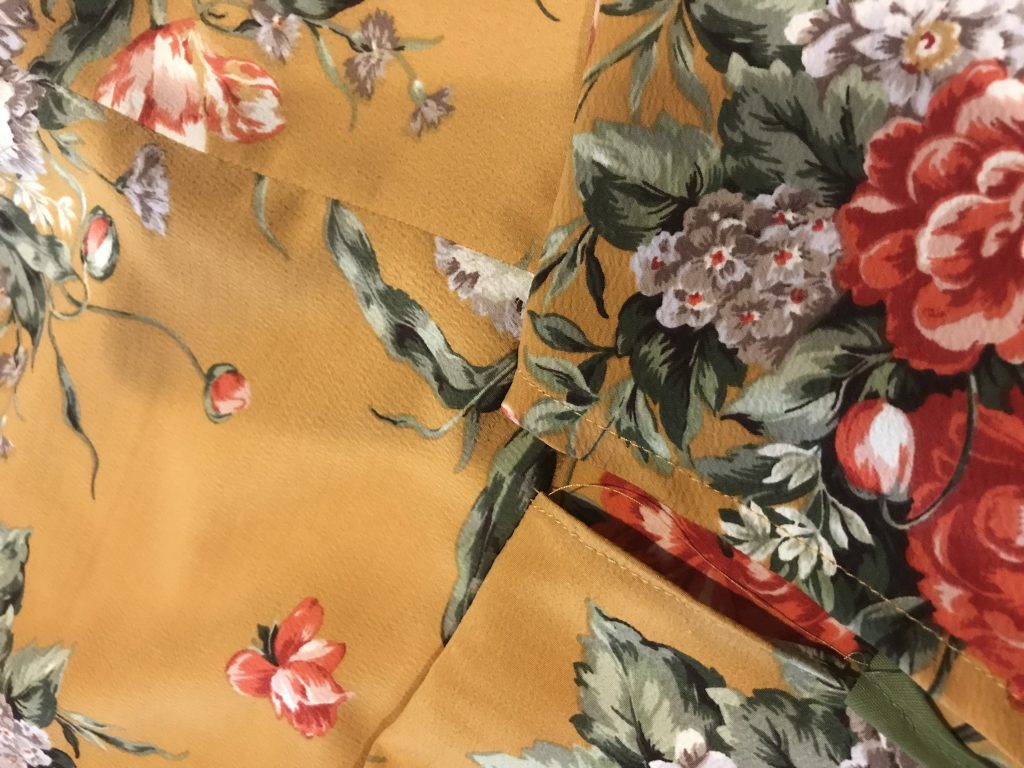
The resulting mismatch. 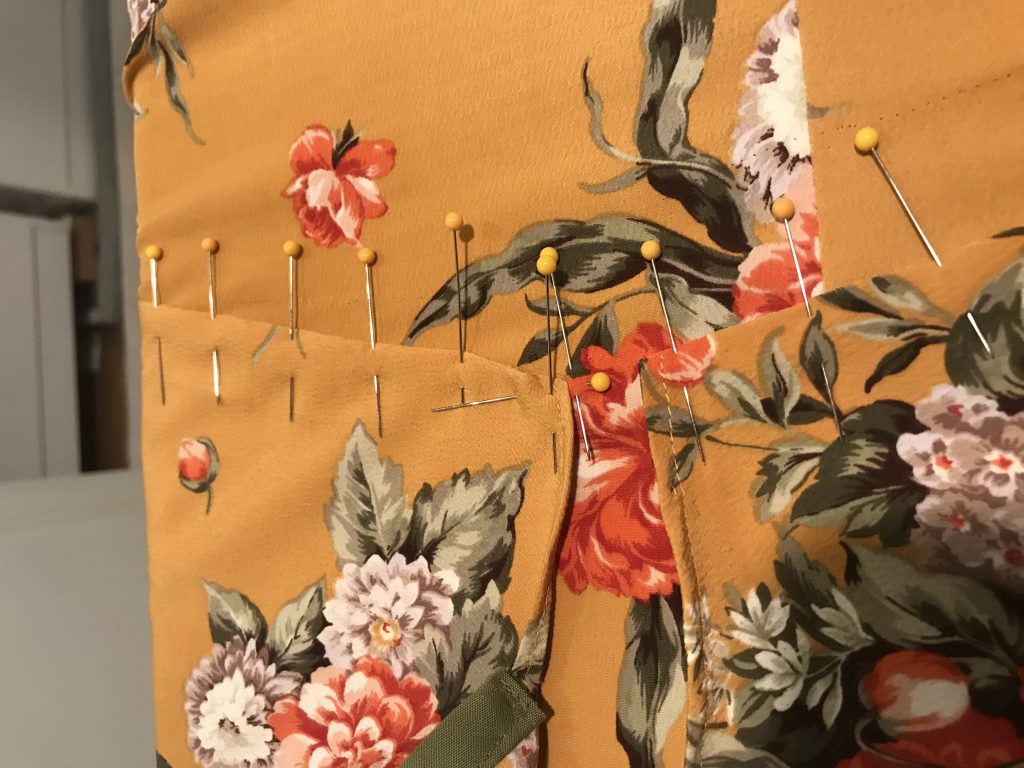
Take 2 on attaching the lower tier. 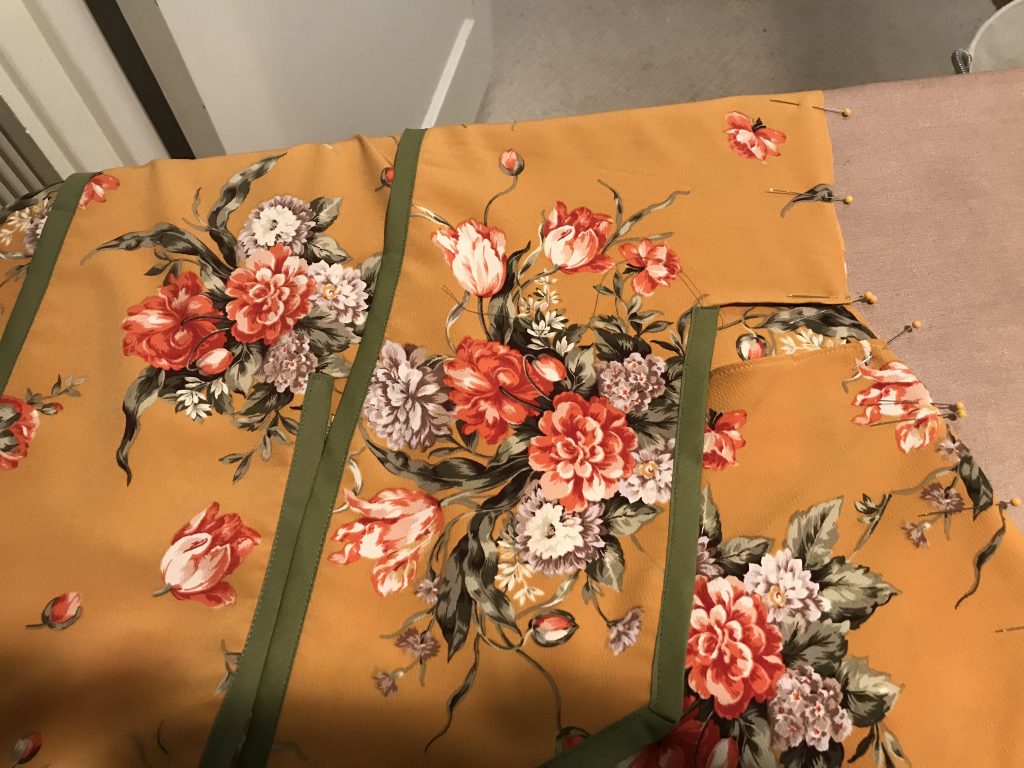
The two tiers now attached.
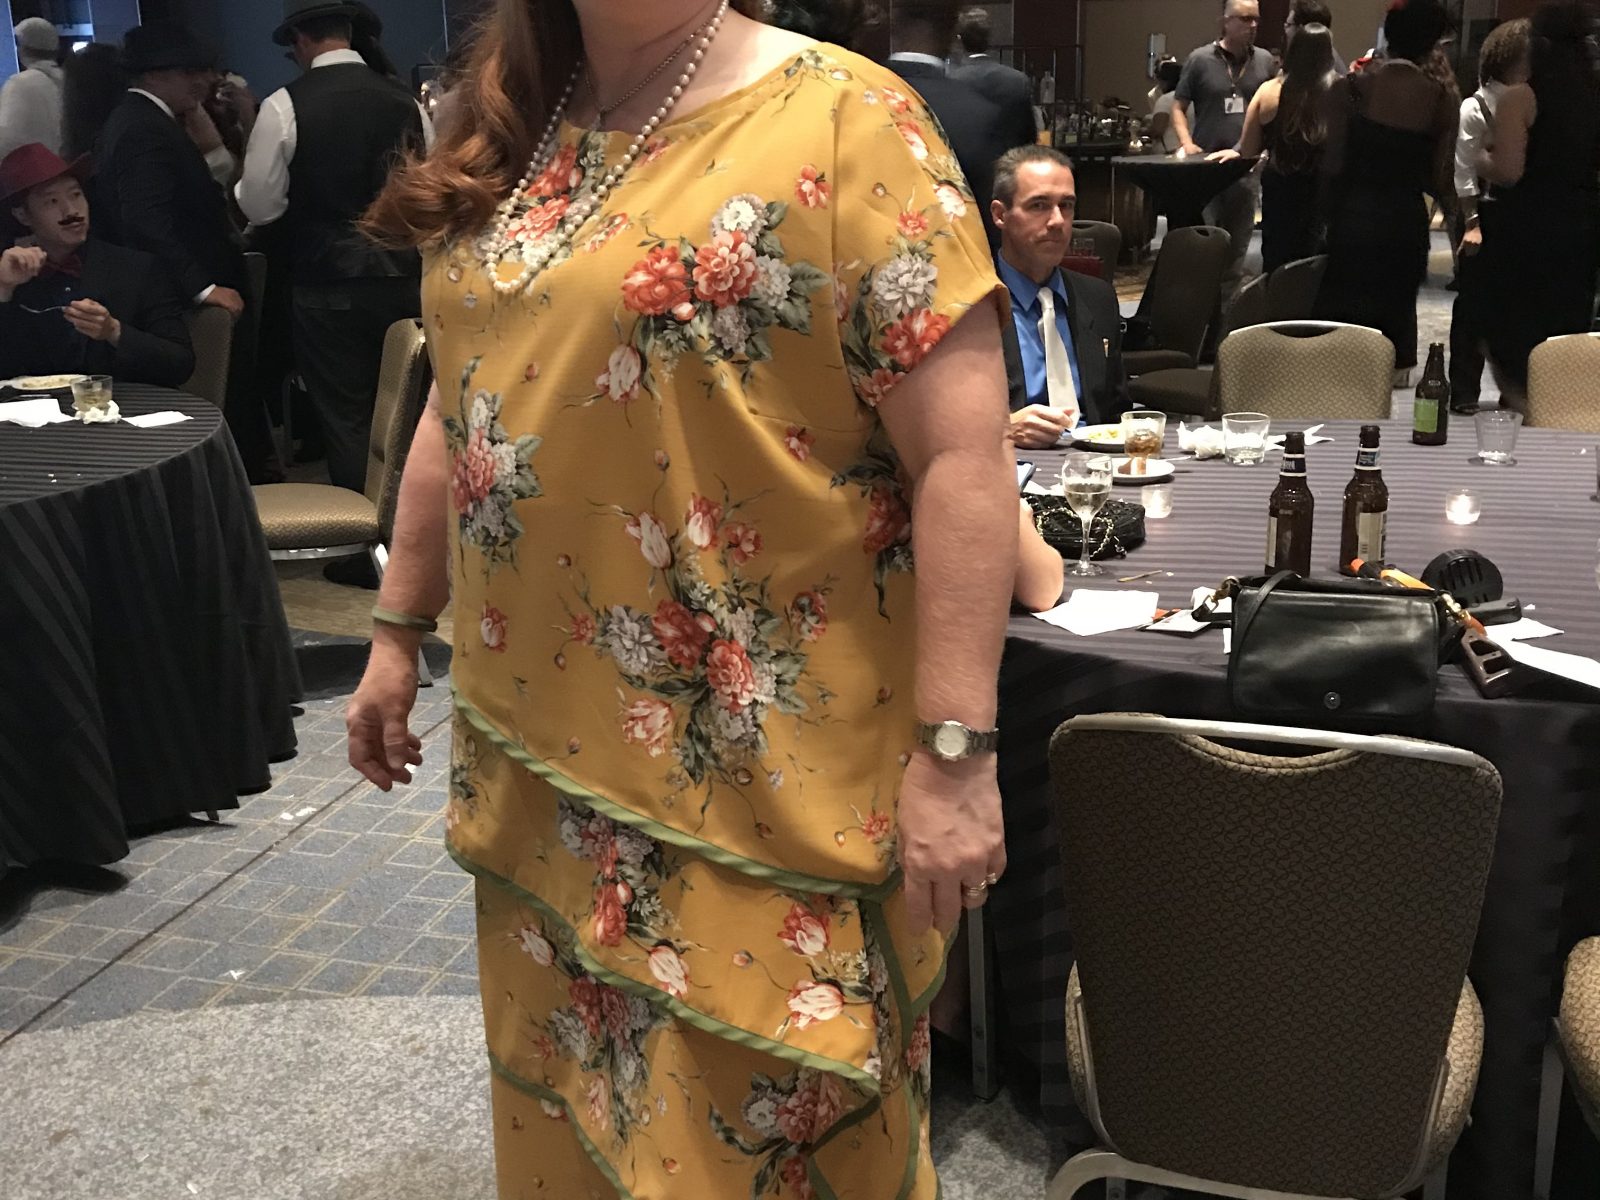
After finishing all of the hand work (hems and tacking down the facings on the top), while sitting at the airport and in a hotel room, I made it to the event.
